🚀 Starting a New Project with the TypeScript Server Boilerplate
Ready to build something awesome? When starting a new project from our boilerplate, you just need to rename a few files to make it your own!
Follow these quick steps to get your new service up and running:
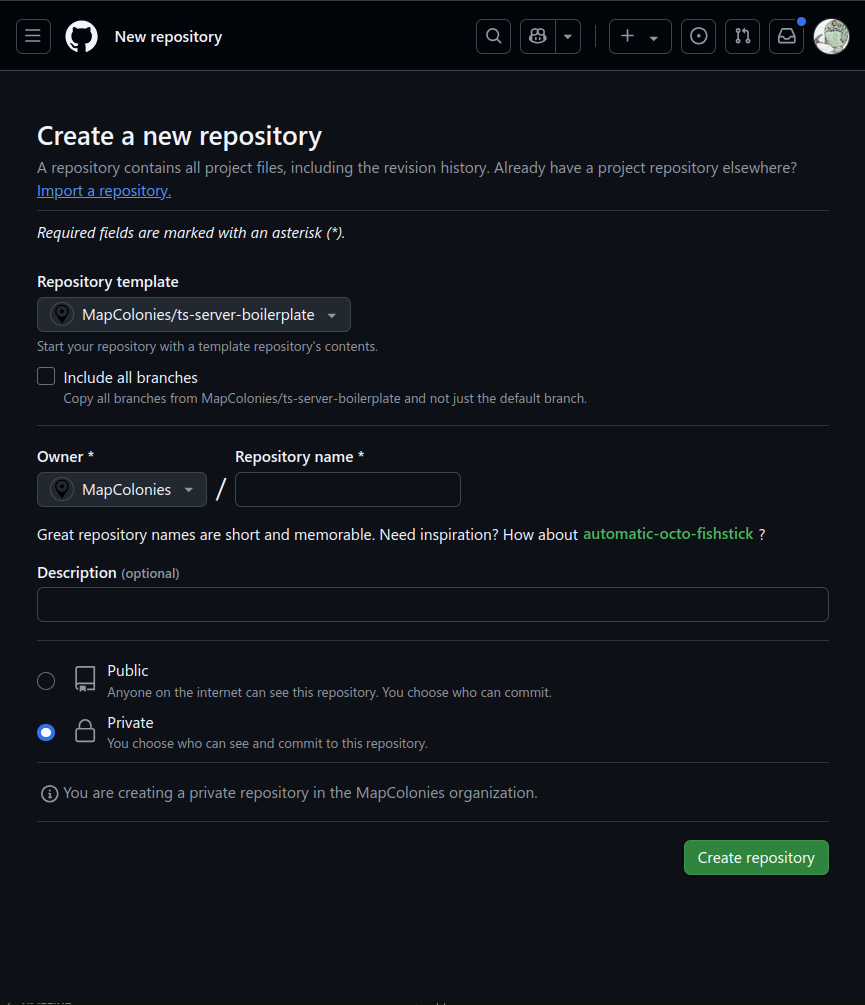
1. Create your Repo: Spin up a new repository in GitHub and set the boilerplate as the template.
2. Clone it down: Grab the new repository to your local machine:
git clone https://github.com/MapColonies/my-new-amazing-repo.git
(Or use SSH if that is your jam: git clone git@github.com:MapColonies/my-new-amazing-repo.git)
3. Name it: Open package.json and package-lock.json and update the "name" field to match your awesome new project!
{
  "name": "my-new-amazing-repo",
  ...
}
4. Update the README: Edit README.md with your project's name, description, and any cool context the team needs to know.
5. Search & Replace: Fire up VS Code, search the entire codebase for ts-server-boilerplate, and replace it with your project's name. 🧹
6. Swap the Resources: Rename the default src/resourceName and src/anotherResource folders to match your actual API resources. Don't forget to update the code inside them!
7. Tweak the Liveness Probe: Head over to src/index.ts and adjust the liveness probe to fit your app's health-checking logic. (By default, it just returns a 200 OK if the app is alive!) 🩺
8. Spin it up! Run the app locally to ensure it purrs:
npm run start:dev
9. Fix the Tests: Update the existing tests to match your newly renamed resources, and add new ones as needed. 🧪
10. Test it! Make sure your test suite is green:
npm run test
🎉 Boom! You are ready to code! From here, use the boilerplate as your launchpad. It is packed with features and packages designed to speed up your workflow and enforce our team's best practices.
👉 Want to dive deeper? Check out the full Boilerplate Documentation to see everything included out of the box!